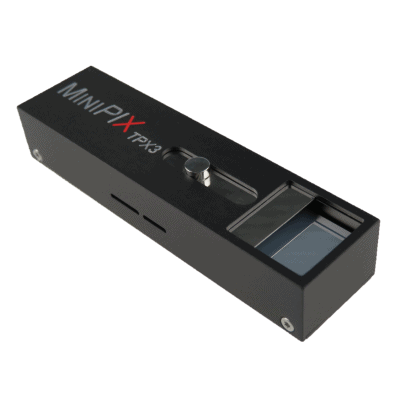
Minipix camera

Introduction
ADVACAM’s imaging cameras are direct conversion single photon counting pixel detectors that represent the cutting edge of current radiation imaging technology. The term “single photon counting” means that every single photon of X-ray radiation detected in individual pixel is processed and counted. The technology brings two major advantages in comparison to the conventional X-ray imaging - high contrast together with sharp high resolution images and spectral information of the radiation that allows material specific information to be displayed in colors.
MiniPIX TPX3 camera is miniaturized and low power radiation camera with the state of art Timepix3 chip. The Timepix3 is the CERN’s latest pixel detector chip that records position, energy and time for every detected quantum of radiation.
The Lima module has been tested with Pixet SDK 1.7.8. A conda package lima-camera-minipix is available from anaconda.org esrf-bcu channel
Monochrome and color cameras are supported with these SDK versions.
Installation & Module configuration
First, you have to install the ADVACAM SDK Pixel to the default path /opt/pixet. tgz and deb packages are available from https://downloads.advacam.com/ .
Note: This camera Lima plugin is a pure python module since Advacam only provides a SDK (pixet) for python.
Then, follow the generic instructions in Build and Install.
For the Tango server installation, refers to PyTango Device Server.
Initialisation and Capabilities
Implementing a new plugin for new detector is driven by the LIMA framework but the developer has some freedoms to choose which standard and specific features will be made available. This section is supposed to give you the correct information regarding how the camera is exported within the LIMA framework.
Camera initialisation
The camera will be initialized by creating Minipix.Interface object.
Small example showing possible ways to initialize:
from Minipix.Interface import Interface
from Lima import Core

hwint = Interface(config_path='/opt/pixet/factory/MiniPIX-J06-W0105.xml')

cam = hwint.camera
Std capabilites
This plugin has been implemented in respect of the mandatory capabilites but with some limitations which are due to the camera and SDK features. Only restriction on capabilites are documented here.
HwDetInfo
getCurrImageType(): It only supports Bpp16.
HwSync
get/setTrigMode(): the supported mode are IntTrig, IntTrigMult.
Optional capabilites
N/A
Configuration
ADVACAM provides you with a XML configuration file, specific to your detector. Default path can be /opt/pixet/factory, for instance /opt/pixet/factory/MiniPIX-J06-W105.xml, where J06-W0105 is the product identifier of the detector.
When creating the Minipix Interface object you must passed as argument the path of your XML configuration file:
hwint = Interface(config_path='/opt/pixet/factory/MiniPIX-J06-W0105.xml')
How to use
This is a python code example for a simple test:
from Lima import Core
from Minipix.Interface import Interface

hwint = Interface(config_path='/opt/pixet/factory/MiniPIX-J06-W0105.xml')

cam = hwint.camera

ct = Core.CtControl(hwint)

acq = ct.acquisition()


#
# set and test an acquisition
#

# set an energy threshold and bias voltage

cam.energy_threshold = 3.6 # in keV
cam.bias_voltage = 200 # in Volt

# setting new file parameters and autosaving mode
saving=ct.saving()

pars=saving.getParameters()
pars.directory='/tmp/test_lima'
pars.prefix='test1_'
pars.suffix='.h5'
pars.fileFormat=Core.CtSaving.HDF5BS
pars.savingMode=Core.CtSaving.AutoFrame
saving.setParameters(pars)

# now ask for 0.1 sec. exposure and 100 frames
acq.setAcqExpoTime(0.1)
acq.setNbImages(100)

ct.prepareAcq()
ct.startAcq()

# wait for last image (#99) ready
lastimg = ct.getStatus().ImageCounters.LastImageReady
while lastimg !=99:
  time.sleep(0.1)
  lastimg = ct.getStatus().ImageCounters.LastImageReady

# read the first image
im0 = ct.ReadImage(0)